Line breaks and blank spaces es
No se recomienda interrumpir el flujo normal de un documento en LaTeX a menos que estés escribiendo una macro. De cualquier manera, a veces es necesario tener un poco más de control sobre la distribución general del documento; es por esta razón que en el presente artículo se explica como insertar saltos manuales de línea, saltos de página y espacios en blanco.
Introducción
Insertar saltos de línea es muy fácil, una doble barra invertida hace el trabajo
\documentclass{article}
\usepackage[utf8]{inputenc}

\begin{document}
Something in this document. This paragraph contains no information
and its purposes is to provide an example on how to insert white
spaces and lines breaks.\\
When a line break is inserted, the text is not indented, there are
a couple of extra commands do line breaks.
\end{document}
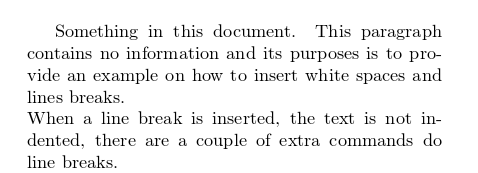
Éste no es el único comando para insertar saltos de línea, en la siguiente sección dos más son descritos.
Saltos de línea
Como se mencionó con anterioridad, hay más de una manera de insertar saltos de línea.
\documentclass{article}
\usepackage[utf8]{inputenc}

\begin{document}
Something in this document. This paragraph contains no information
and its purposes is to provide an example on how to insert white
spaces and lines breaks.\\
When a line break is inserted, the text is not indented, there
are a couple of extra commands do line breaks. \newline
This paragraph provides no information whatsoever. We are exploring
line breaks. \hfill \break
And combining two commands
\end{document}
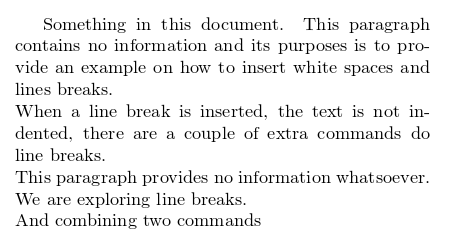
Hay tres comandos aquí que cumplen la misma función en el ejemplo:
\\(dos diagonales invertidas)\newline\hfill \break
Para ver más comandos para insertar saltos de línea consulta la guía de referencia.
Saltos de página
Existen dos comandos para insertar saltos de página, clearpage y newpage. En seguida un ejemplo donde se usa clearpage.
\documentclass{article}
\usepackage[utf8]{inputenc}

\begin{document}
Something in this document. This paragraph contains no information and
its purposes is to provide an example on how to insert white spaces
and lines breaks.\\
When a line break is inserted, the text is not indented, there are a
couple of extra commands do line breaks. \newline
This paragraph provides no information whatsoever. We are exploring
line breaks. \hfill \break
And combining two commands

\begin{figure}
\centering
\includegraphics[width=4cm]{lion-logo}
\caption{ShareLaTeX logo}
\end{figure}

Hello,  here  is  some  text  without  a  meaning...
\clearpage
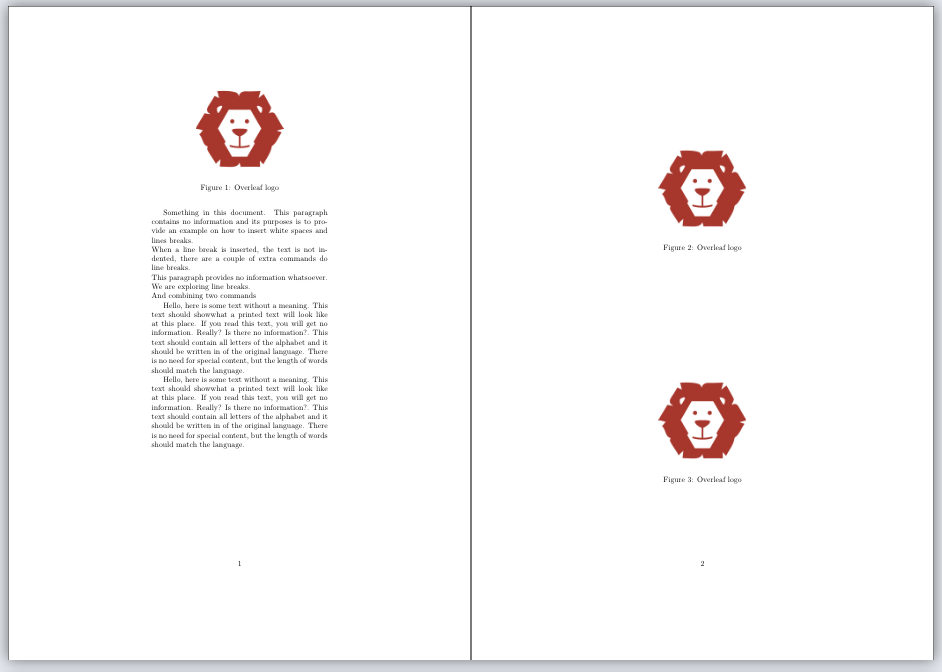
Si se usa el comando clearpage y hay elementos flotantes en cola, tales como tablas y figuras, serán insertadas todas antes de iniciar una nueva página. En el ejemplo anterior la misma imagen se inserta tres veces. Dado que el salto de página se inserta antes de que las tres imágenes aparezcan en el documento, las imágenes faltantes son insertadas en una página en blanco antes de continuar con el texto posterior al salto de página.
Si ésto no es lo que necesitas, puedes usar \newpage en su lugar. Veamos un ejemplo:
\documentclass{article}
\usepackage[utf8]{inputenc}

\begin{document}
Something in this document. This paragraph contains no information and
its purposes is to provide an example on how to insert white spaces
and lines breaks.\\
When a line break is inserted, the text is not indented, there are a
couple of extra commands do line breaks. \newline
This paragraph provides no information whatsoever. We are exploring
line breaks. \hfill \break
And combining two commands

\begin{figure}
\centering
\includegraphics[width=4cm]{lion-logo}
\caption{ShareLaTeX logo}
\end{figure}

Hello,  here  is  some  text  without  a  meaning...
\newpage
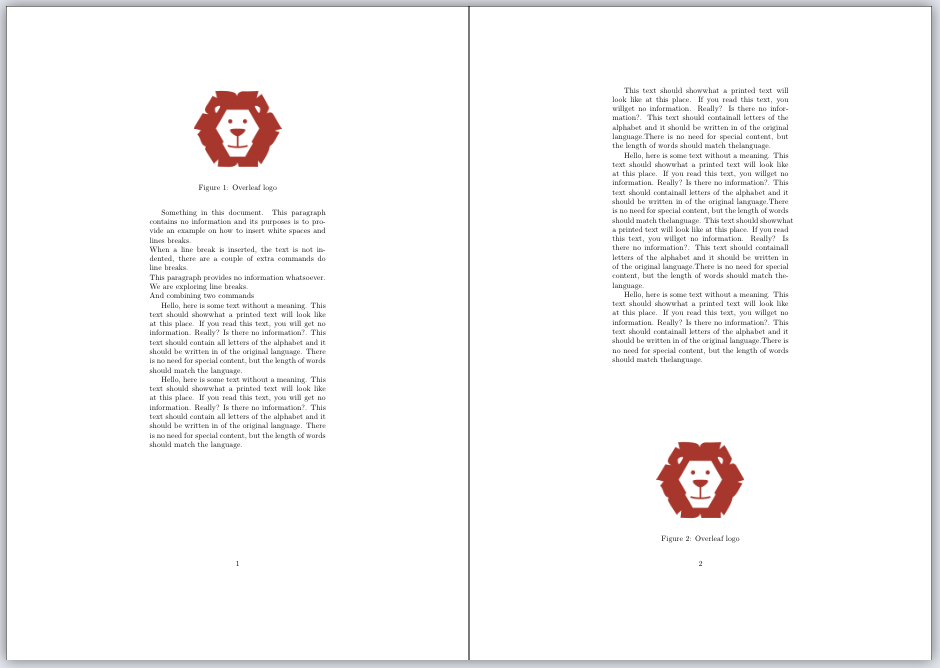
En éste caso las imágenes se posicionan en una página nueva pero tratando de encajar en el flujo del texto.
Espacios en blanco horizontales
Espacios en blanco horizontales de longitud arbitraria se pueden insertar con el comando \hspace.
Horizontal \hspace{1cm} spaces can be inserted manually. Useful
to control the fine-tuning in the layout of pictures.

Left Side \hfill Right Side

Hay dos comandos que insertan espacios en blanco en este ejemplo:
\hspace{1cm}- Inserta un espacio horizontal de longitud 1cm. Otras unidades de longitud se pueden usar con éste comando.
\hfill- Inserta un espacio en blanco que se expande dinámicamente para ocupar todo el espacio disponible.
Los comandos \hrulefill y \dotfill tienen la misma función que \hfill pero en lugar de espacios en blanco insertan una línea horizontal o una cadena de puntos, respectivamente.
Espacios verticales en blanco
Para insertar espacios verticales en blanco se usa la misma sintaxis que para los horizontales.
Text at the top of the page. Text at the top of the page.
Text at the top of the page. Text at the top of the page.
Text at the top of the page. Text at the top of the page.
Text at the top of the page.

\vspace{5mm} %5mm vertical space

This text still at the top, 5mm below the first paragraph.

\vfill

Text at the bottom of the page.
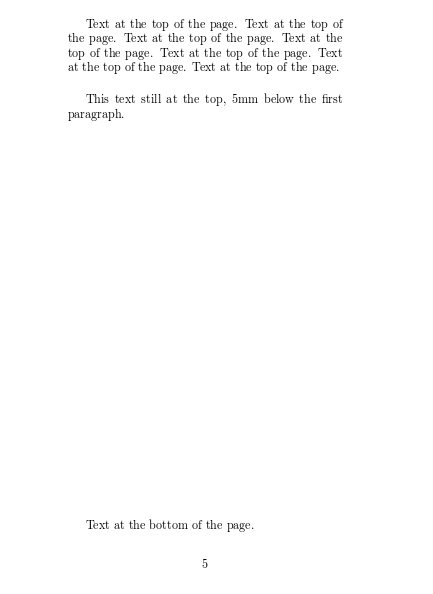
Veamos los dos comandos que insertan espacios verticales en el ejemplo.
\vspace{5mm}- Inserta un espacio vertical cuya longitud es de 5mm. Otras unidades de longitud se pueden usar con éste comando.
\vfill- Inserta un espacio vertical en blanco que se amplia dinámicamente para llenar todo el espacio vertical disponible en la página. Es por esa razón que la línea «Text at the bottom of the page.» se mueve hasta el fondo, porque el resto del espacio ya está «relleno».
Hay algunos otros comandos que por conveniencia son comunes para insertar espacios verticales.
\smallskip- Añade un espacio de tamaño 3pt más/menos 1pt dependiendo en de otros factores (tipo de documento, espacio disponible, etc).
\medskip- Añade un espacio de tamaño 6pt más/menos 2pt dependiendo de otros factores (tipo de documento, espacio disponible, etc).
\bigskip- Añade un espacio de tamaño 12pt más/menos 4pt dependiendo de otros factores (tipo de documento, espacio disponible, etc)
Guía de referencia
Comandos adicionales para insertar saltos de línea
- (dos diagonales invertidas y un asterisco)
\\*
Inserta un salto de línea en ese punto y además prohíbe la inserción de saltos de página luego de éste salto de línea.
\break
Inserta un salto de línea sin llenar el espacio restante disponible en la línea actual. Ésto usualmente resulta en un formato muy deficiente si uno no rellena el espacio restante con un comando como el dado en la siguiente línea.
\hfill\break
Produce el mismo resultado que \newline y \\.
De manera adicional, LaTeX proporciona el siguiente comando avanzado para saltos de línea.
\lineabreak[number]
El comando inserta un salto de línea en el punto donde aparece. El parámetro adicional number representa la prioridad en un rango de 0 a 4. 0 significa que el comando será fácilmente ignorado mientras que 4 significa que el salto se insertará pase lo que pase. Cuando esta opción es utilizada, LaTeX tratará de producir los mejores saltos de línea posibles.
Lecturas adicionales
Para más información consultar: